Releasing your body with the good old roller is nothing new, but I would like to show you my take on roller releases.
Physiotherapists, sports trainers, exercise physiologists and alike have been teaching their clients to use this fabulous tool for years and for many of our clients here at Infusion, jumping on the floor with a roller to release tension is part of their daily routine.
Choosing the right roller for you
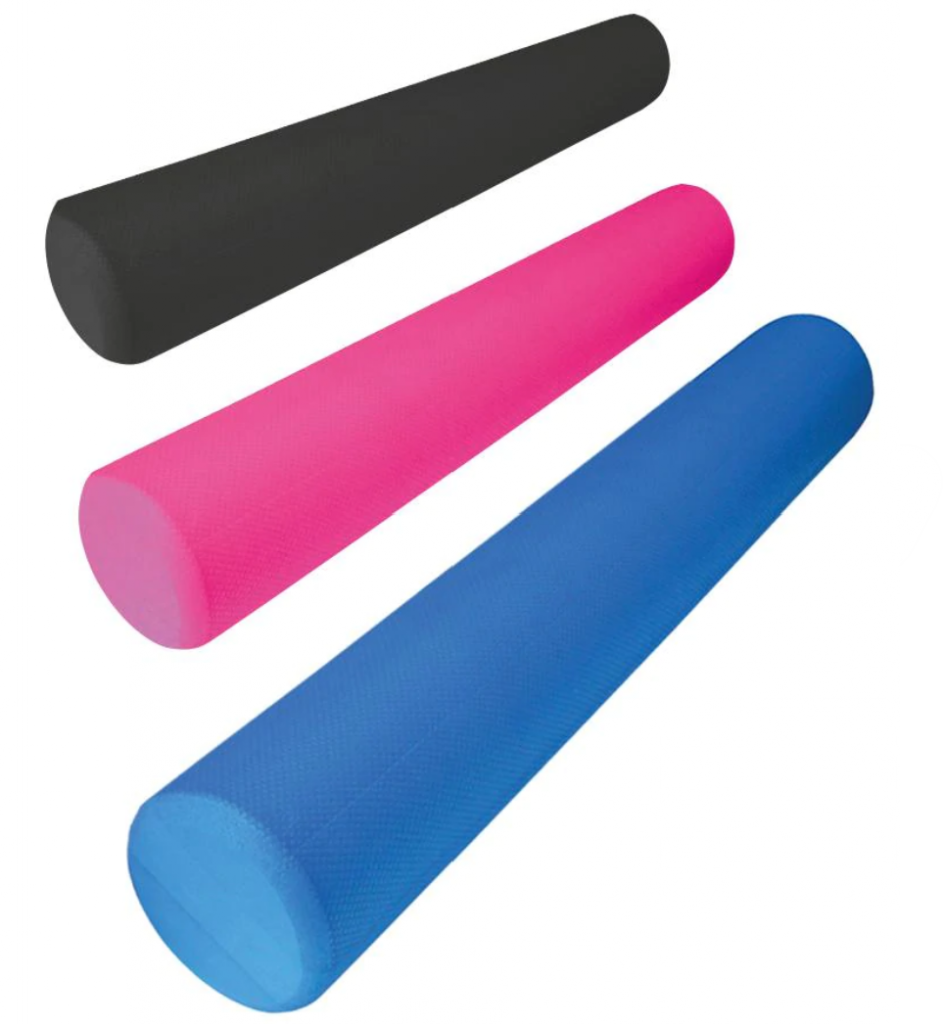
Picking the right roller for yourself is critical. After all there is no point in buying a roller that will bring yourself to tears because it is too hard and it ending up in the corner collecting dust.
There are many options, from the soft pink one, the standard blue one, the hard black one, the super hard cork roller plus an array of branded rollers.
So if you already use one, think about what you are actually doing…
The usual way would be to jump on and move your body up and down over the desired area and bite down on a piece of leather! Right?
Umm… I have a few problems with this.
Firstly, this pushes the tissue over the bone beneath it, squishing and compressing everything. I would much rather see the tissue distracted away from the bone and the soft tissue around it, which includes the fascia, other muscles and fat.
Breaking up any adhesions in the tissue to allow full expression of flexibility and strength is the goal. So here are my tops tips for being more effective each time you roll and create some changes in the tissue.
Key elements for effective roller releasing
1. Arcs to warm up
Sweep your body area over the roller in long sideways motion as you move up and down. Move slowly and deliberately to warm the tissue and whole body. Cold tissue will resist any distraction and stretch at the muscle fibre level and is to be avoided. I would do each leg in the Arcs then move to Zig Zags
2. Zig zags to distract
Move through zig zag motions, pulling the area side to side in slightly more acute angles as you roll up and down the area. Vary the angle of pull so that the area is given distraction in different ways. This allows you to explore the areas of increased tension and discomfort and focus your attention here. Repeat the other leg then move onto Triggers.
3. Pressure over trigger points
You may find some areas that are particularly tender, painful even. If you are comfortable enough to hover over this area and remain there to provide “exquisite” feeling of pain for 10-15 seconds, do so.
I’m talking almost 10/10! Over those seconds, the feeling should reduce to 0/10 – 2/10. You have just released your first trigger point. If the feeling does not change or increases, please move on and release around the tender spot rather than directly over it. Repeat the other leg then move onto Erratics.
4. Erratic manoeuvres
You should be sweating by now so if you aren’t, next time increase the temperature of your room or place of release to encourage increased total body heat. If you are warm, move erratically in different directions and speeds around the whole area. Consider your body position taking care with your head, neck and shoulders as well as your. No Bananas please.
5. Active stretching
It is essential to stretch the area after these sequences. After all, the tissue is warm, you are warm and the contractile tissue in the muscles and alike are probably screaming for some lengthening. For me this is a great way to improve flexibility.
So where to start …
Leg release instructions
I’ll walk you through 2 important areas of the thighs and check our video for clear visual to follow.
The Front Plank = front of thighs – Quadriceps
• Elbows under shoulders and shoulder width apart
• Toes on the floor to create upwards lift if the pressure is too intense
• Break up the release area into 2 halves – hip to mid thigh and mid thigh to above the knee so you can position your shoulders correctly according the part of the thigh you are working on
• Work 1-4 elements
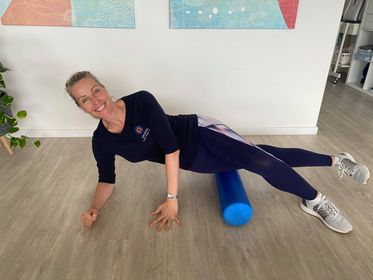
The side plank release – side of the thigh – IT band and lateral quadriceps
• Support with your underneath elbow on the floor directly under your shoulder
• Top leg is bent with the foot forward to take the weight of your body together with your arm
• Underneath leg is straight and may be on or off the ground depending on your level of intended release. Beginners please keep it on the ground
• Work 1-4 elements
• Once you have completed all your releases then work the 5th element of stretching.
Remember:
• Stick to the soft bits – it is not fun rolling over bone and you can actually damage the bursa and tendons – like at the side of the hip (greater trochanter) and knees (patella)
• Warm up slowly and stretch at the end
• Aim for mild to moderate discomfort but no more
• These releases are not for everyone and prescriptive exercise is always best.
If you have any problems or questions please contact us at Infusion and we can assess what is going on and adjust specifically for you.